Quiet Fan Mod
The fan in the power supply in the lower cabinet of the P3 base machine is very noisy. PinMonk sells a kit to replace the noisy fan with a much quieter model.
“PinMonk’s Spooky/Multimorphic Plug-N-Play Quiet Fan Kit” is available for $20 USD on PinMonk’s website, the Pinside store or Pinball Life. Take the time to visit the first link to see the result of his research.
If you want a plug-n-play solution, I recommend you buy this kit. Unfortunately, PinMonk does not ship internationally, so I had to implement the mod myself. This could also save you a few bucks if you are willing to splice two wires.
As always, replacing the fan will void your warranty. Do this at your own risk.
Fan Comparison
The original fan in the power supply is a Sunon KD1206PTB1 with extra product code 13 (2) E.B2917 A.GN
It is rated at 23.5 CFM at 34.5 dBA.
Sunon is the manufacturer
KD Series of fans
12 is 12VDC
06 is 60mm frame size
P is PBT Plastic frame material
T is 25mm frame thickness
B is ball bearing system
1 is high speed (4500 RPM)
13 is motor model
(2) is two ball bearings
E.B2917 is ?
A is auto restart
GN is RoHS compliance
PinMonk’s replacement fan is a Sunon HA60251V4-1000U-A99
It is rated at 13.8 CFM at 10.7 dBA.
Sunon is the manufacturer
H Series of fans
A is motor type
60 is 60mm frame size
25 is 25mm frame thickness
1 is 12VDC
V is Vapo bearing
4 is super low speed (2500 RPM)
1 is Gen1
000U is customer code
A99 is function code AutoRestart
PinMonk may have selected this fan because it is extremely quiet while still providing good airflow for its class.
The CFM is only 13.8 compared to 23.5, but according to his research, this is sufficient for home use because the fan is constantly on.
You can order the quiet fan in bulk packaging from DigiKey.
SDTM Installation Video
SDTM has an excellent video showing how to install PinMonk’s mod. Click on the image to see it on YouTube.
Multimorphic Installation
These are the detailed instructions specific to the Multimorphic P3.
- Unplug the machine from the power outlet. Just turning off the machine is not safe.
- Remove the lockbar and glass.
- Place the playfield in service position 1.
- Remove the playfield module.
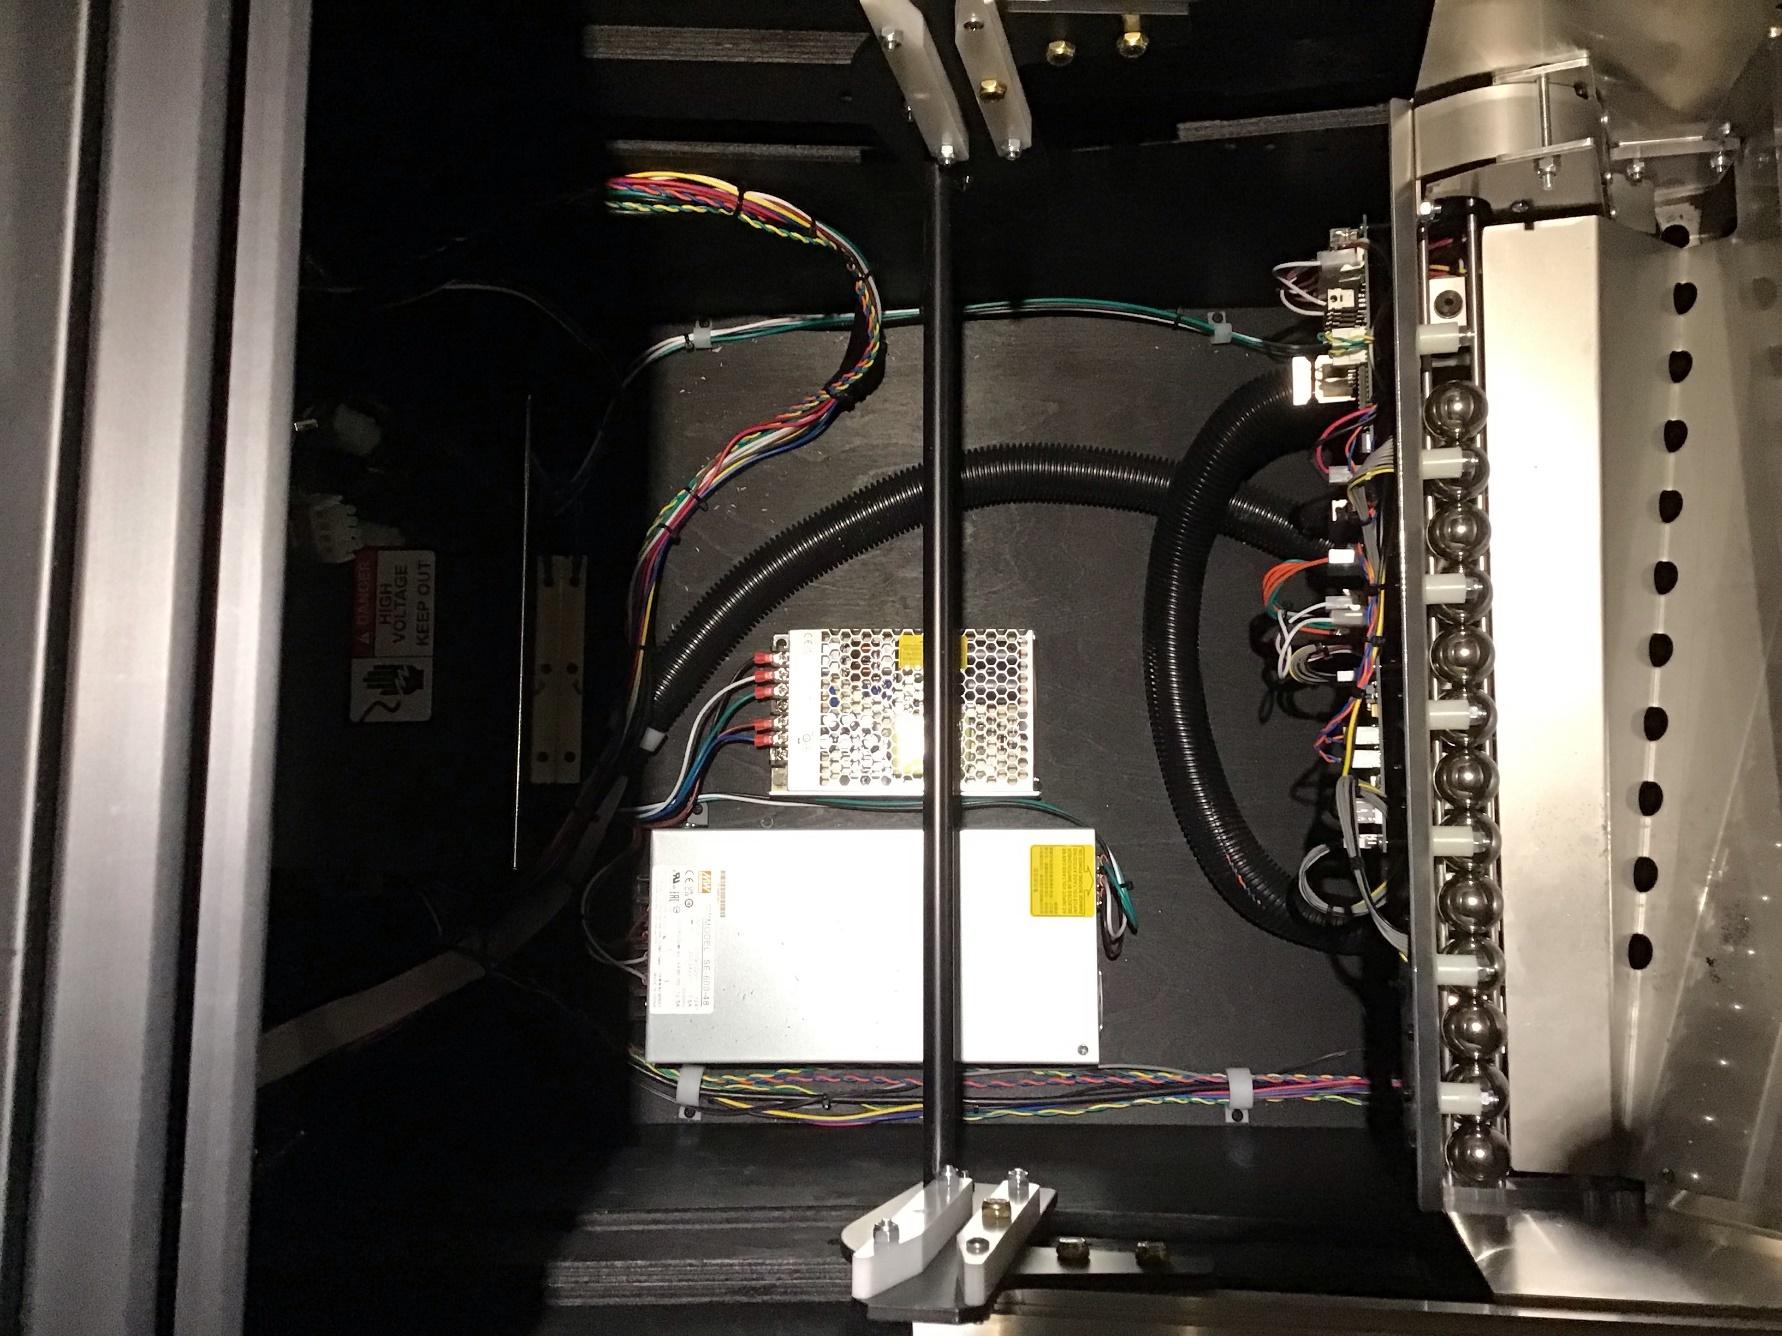
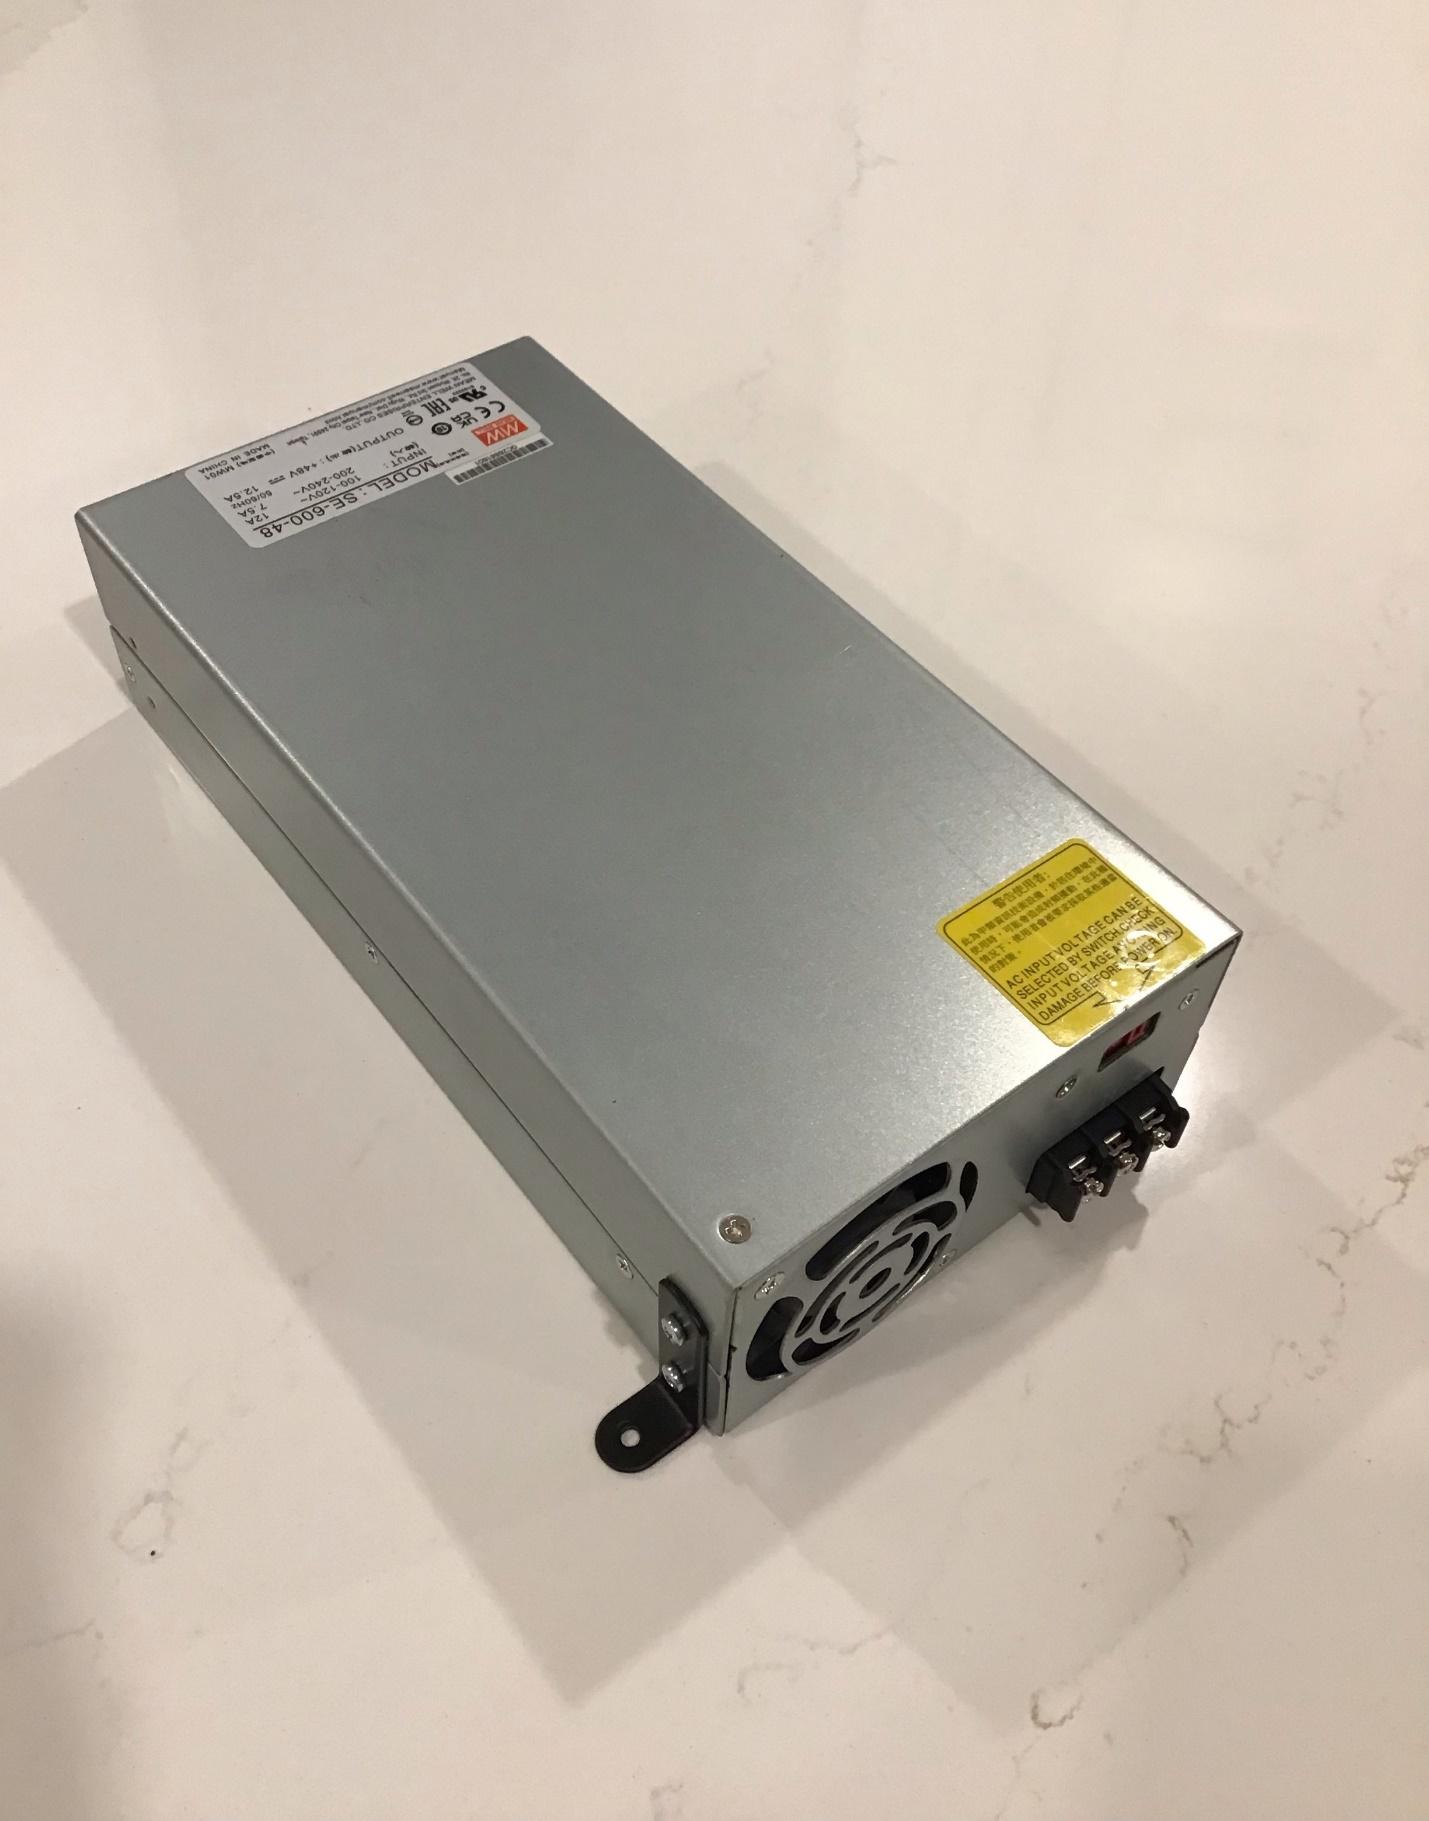
The power supply is the shiny box on the left at the bottom of the cabinet.
- Unscrew the 2 power supply legs from the cabinet (lower left and top right).
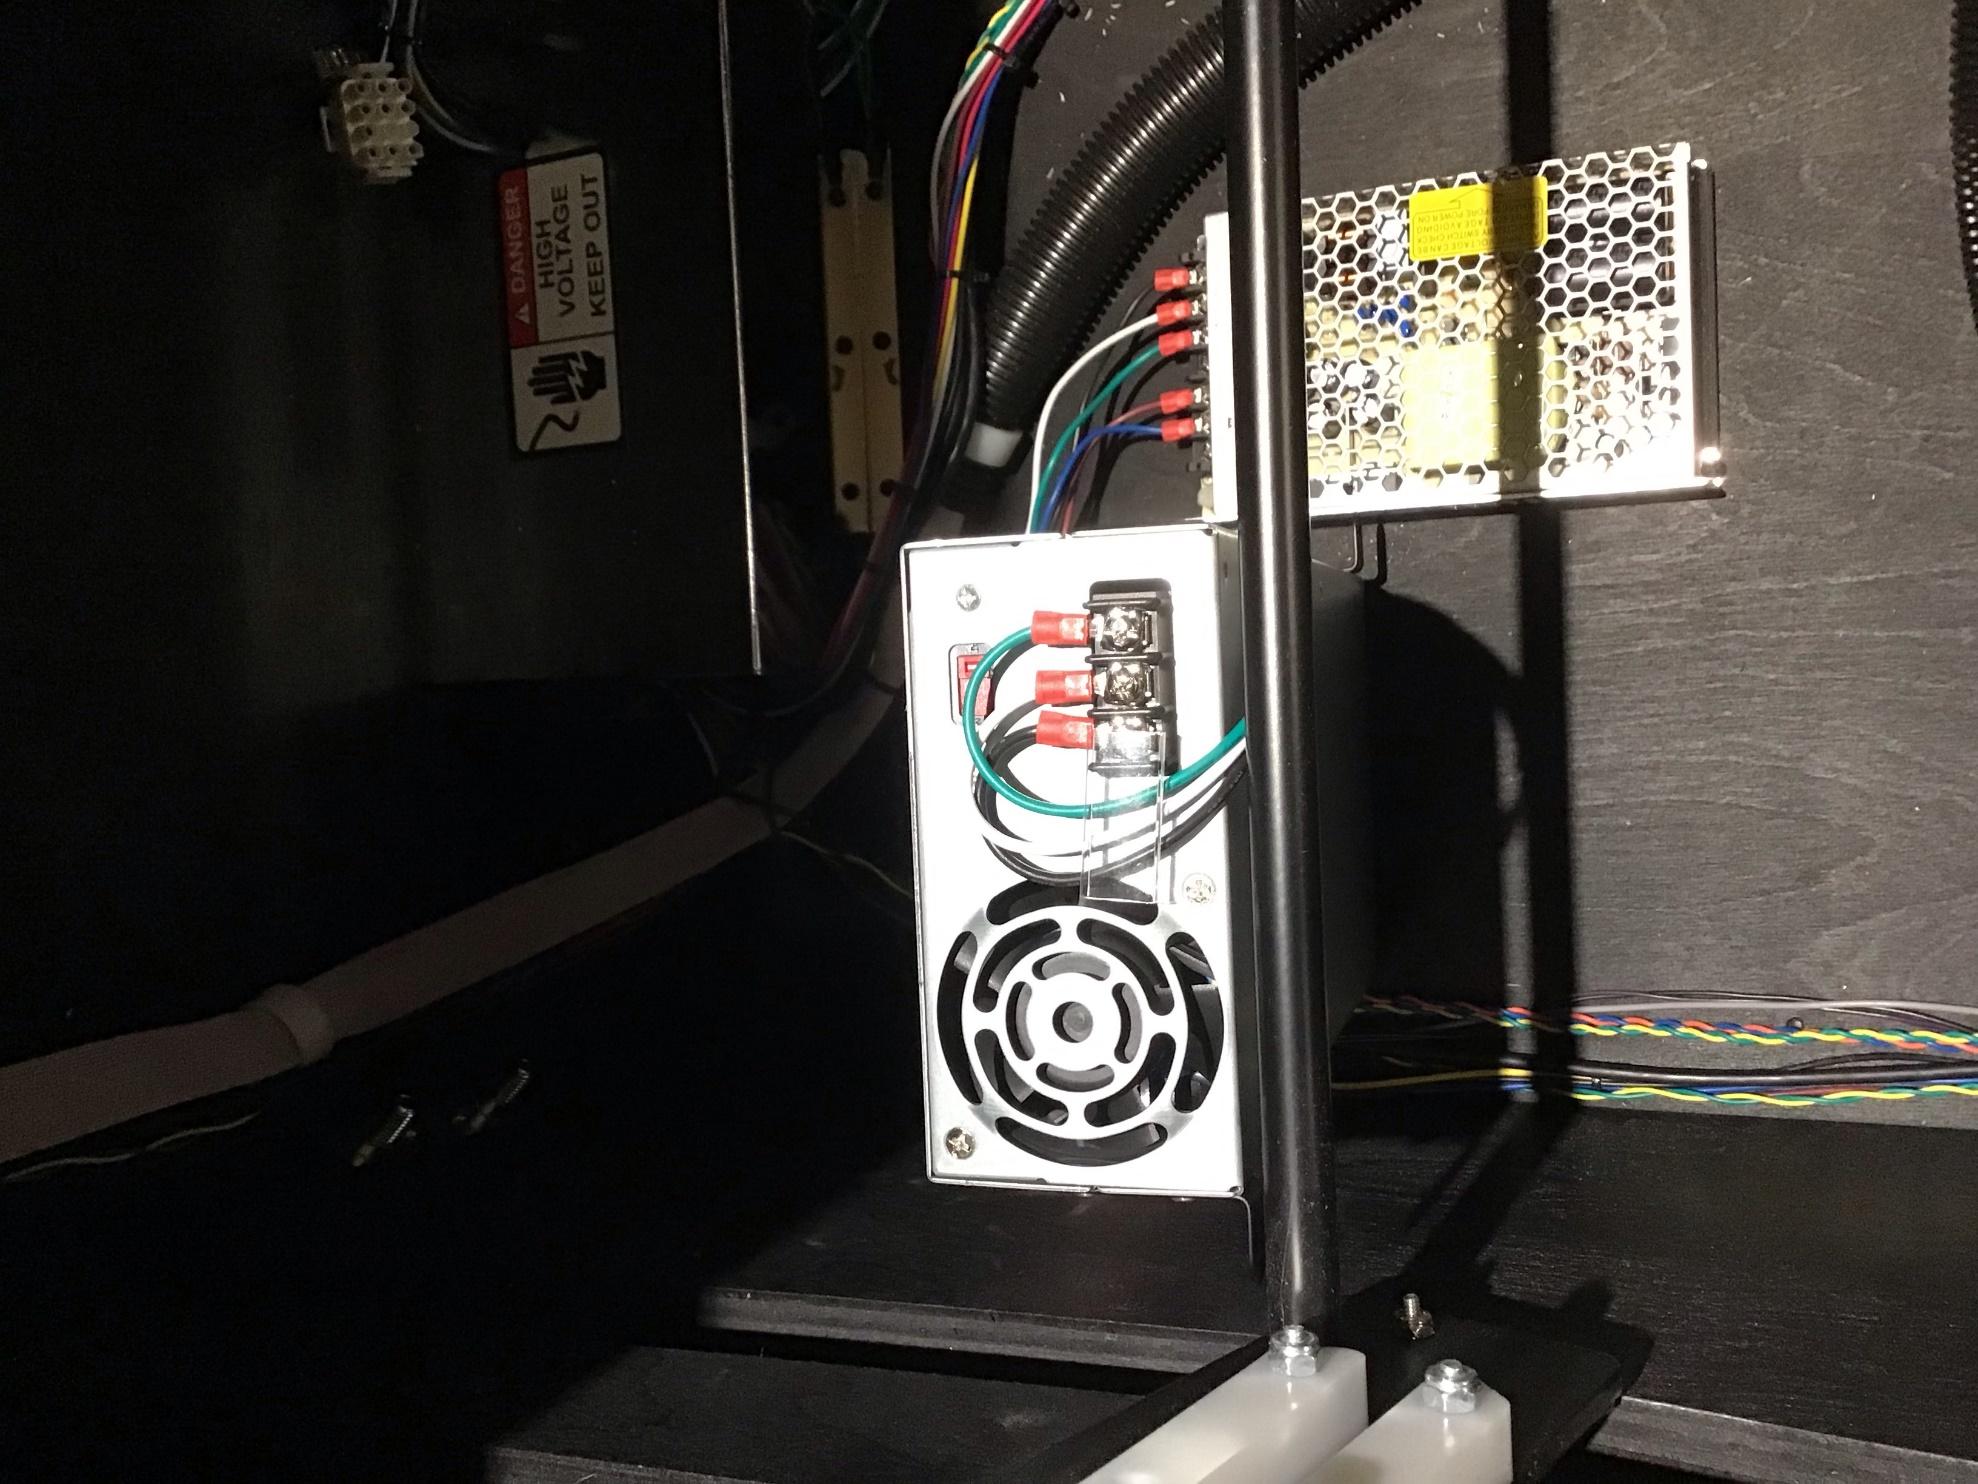
- Remove the plastic cover protecting the front wires. Unscrew the front wires.
From left to right, you have L N G wire terminals connected to the black, white and green wires respectively.
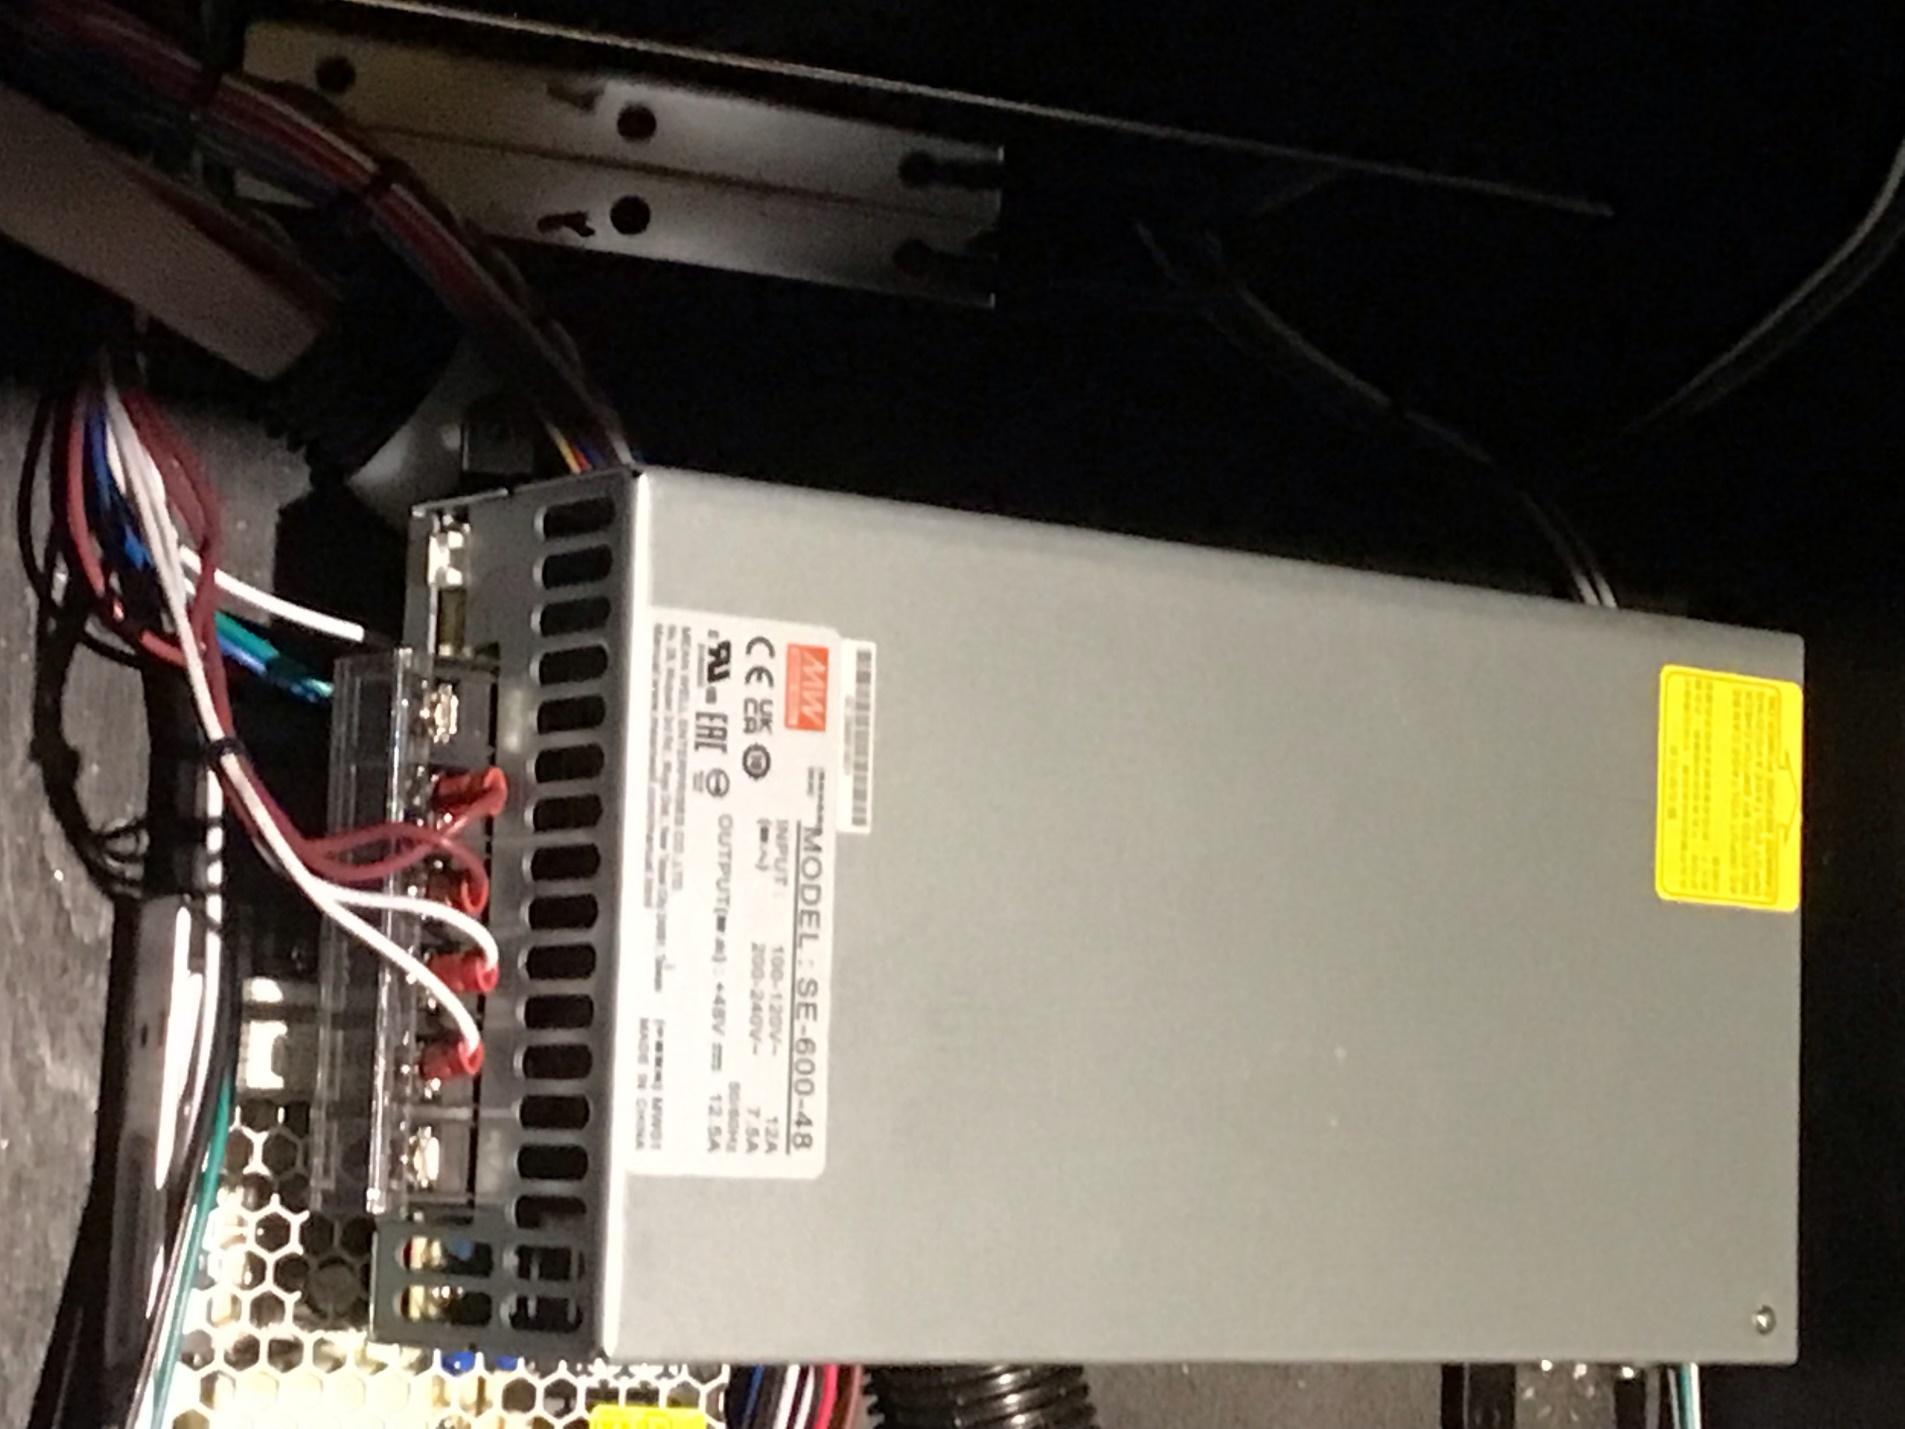
- Remove the plastic cover protecting the back wires. Unscrew the back wires. There are two red wires connected to V- and two white wires connected to V+. This step is a bit awkward because there is not a lot of slack on the wires. This is why the picture looks upside down.
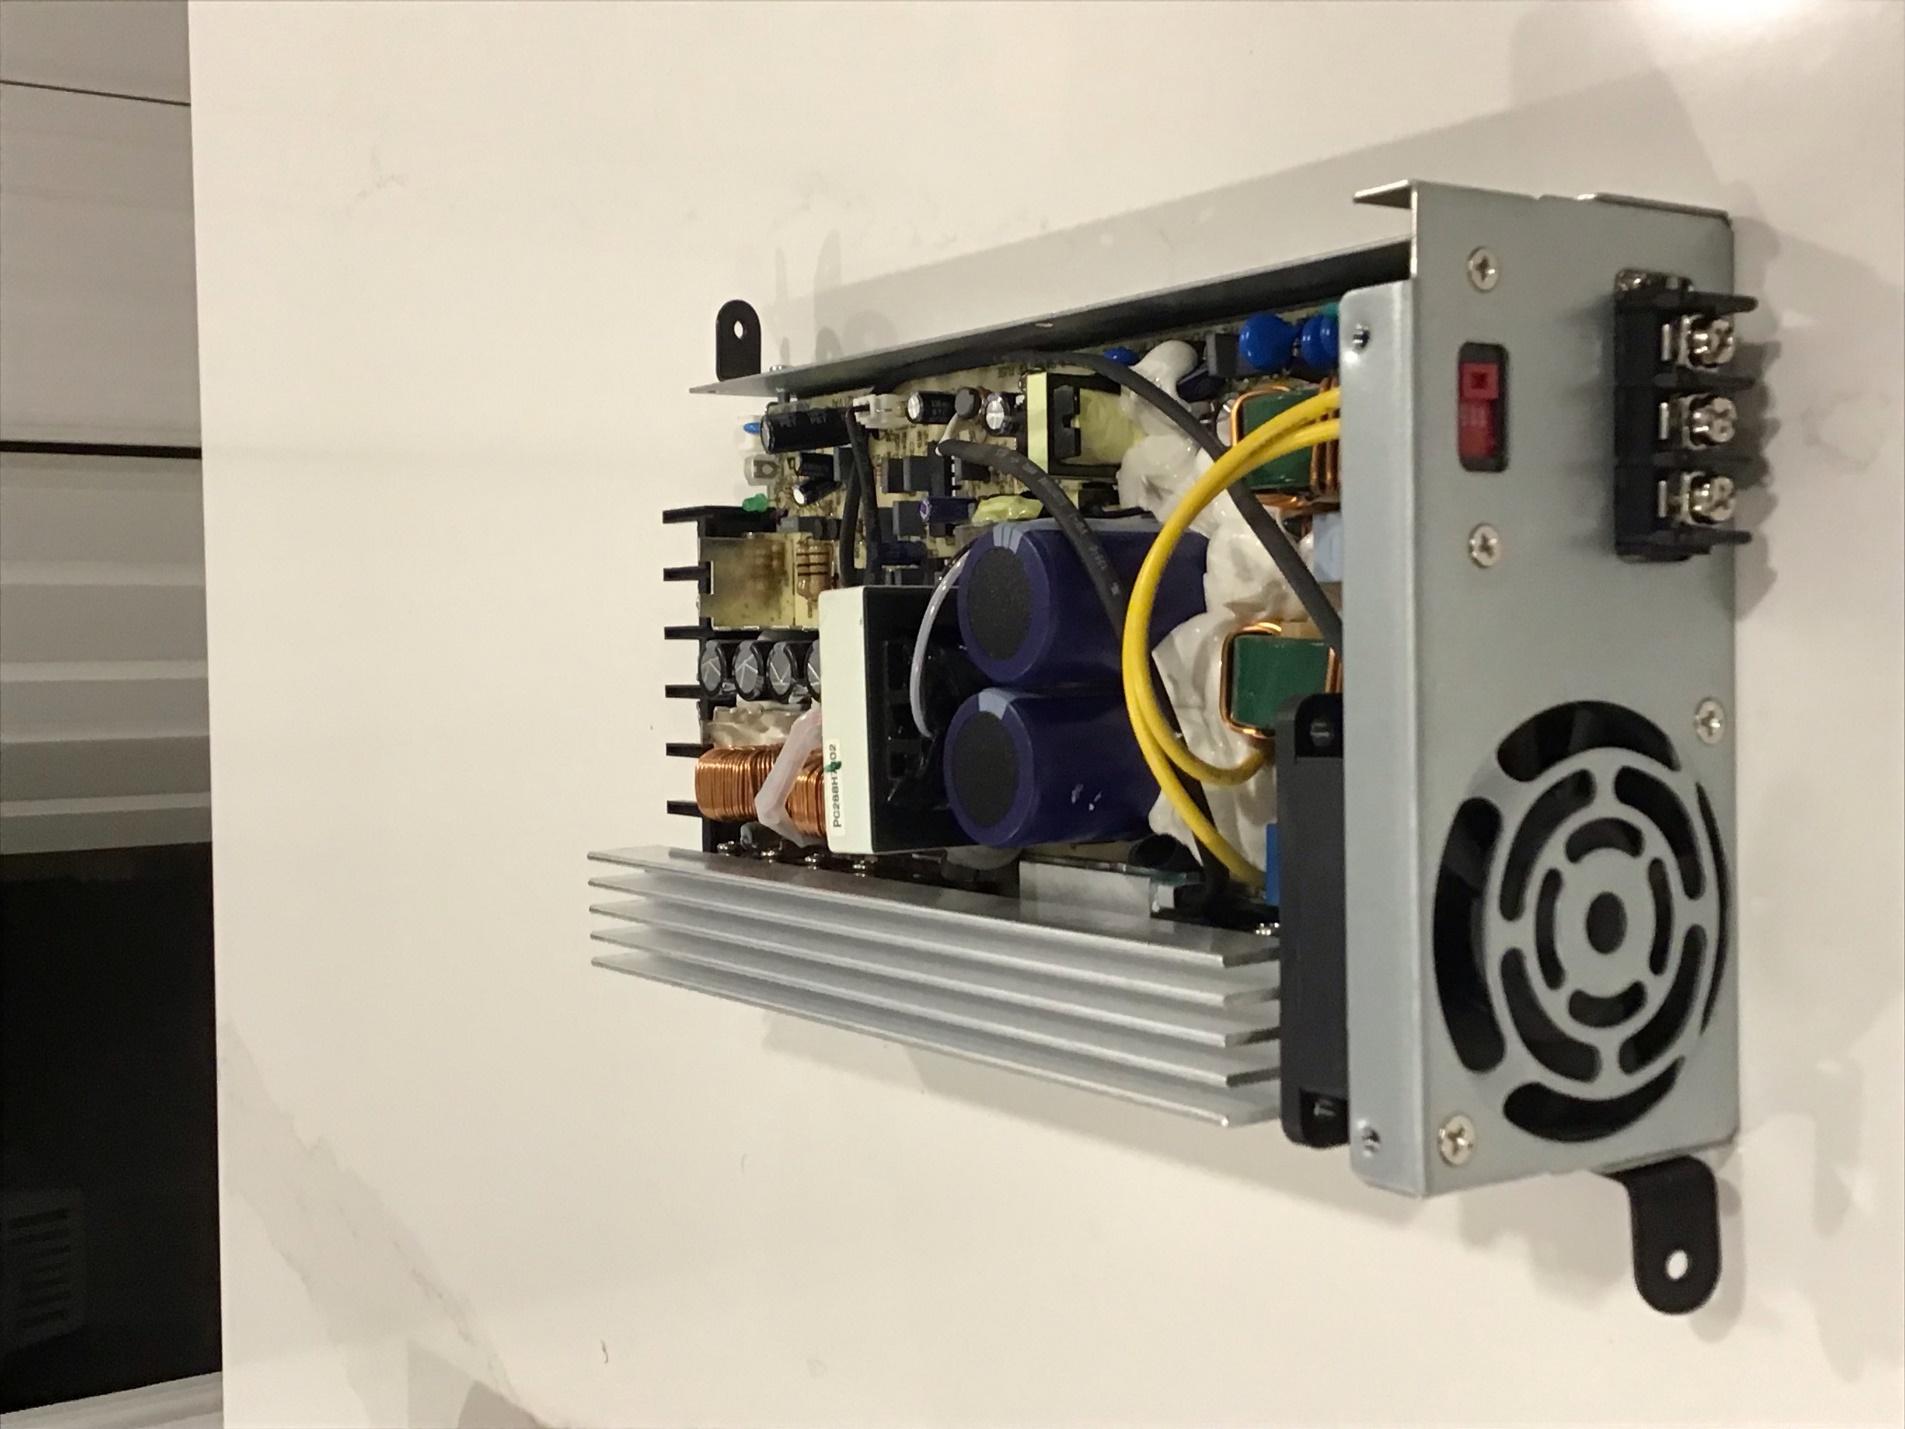
- Unscrew the top of the power supply casing. There are two screws on the top, including one hidden underneath the yellow sticker. There are 3 screws on each side, plus the top screw on each leg. You don’t have to remove the bottom screw on the leg, but you may have to loosen it.
- Remove the top of the power supply casing.
- Unscrew the two screws holding the fan (top left and bottom right of the circular grille).
- Remove the 5 screws holding the board, one in each corner and one in the middle of the bottom edge in the picture.
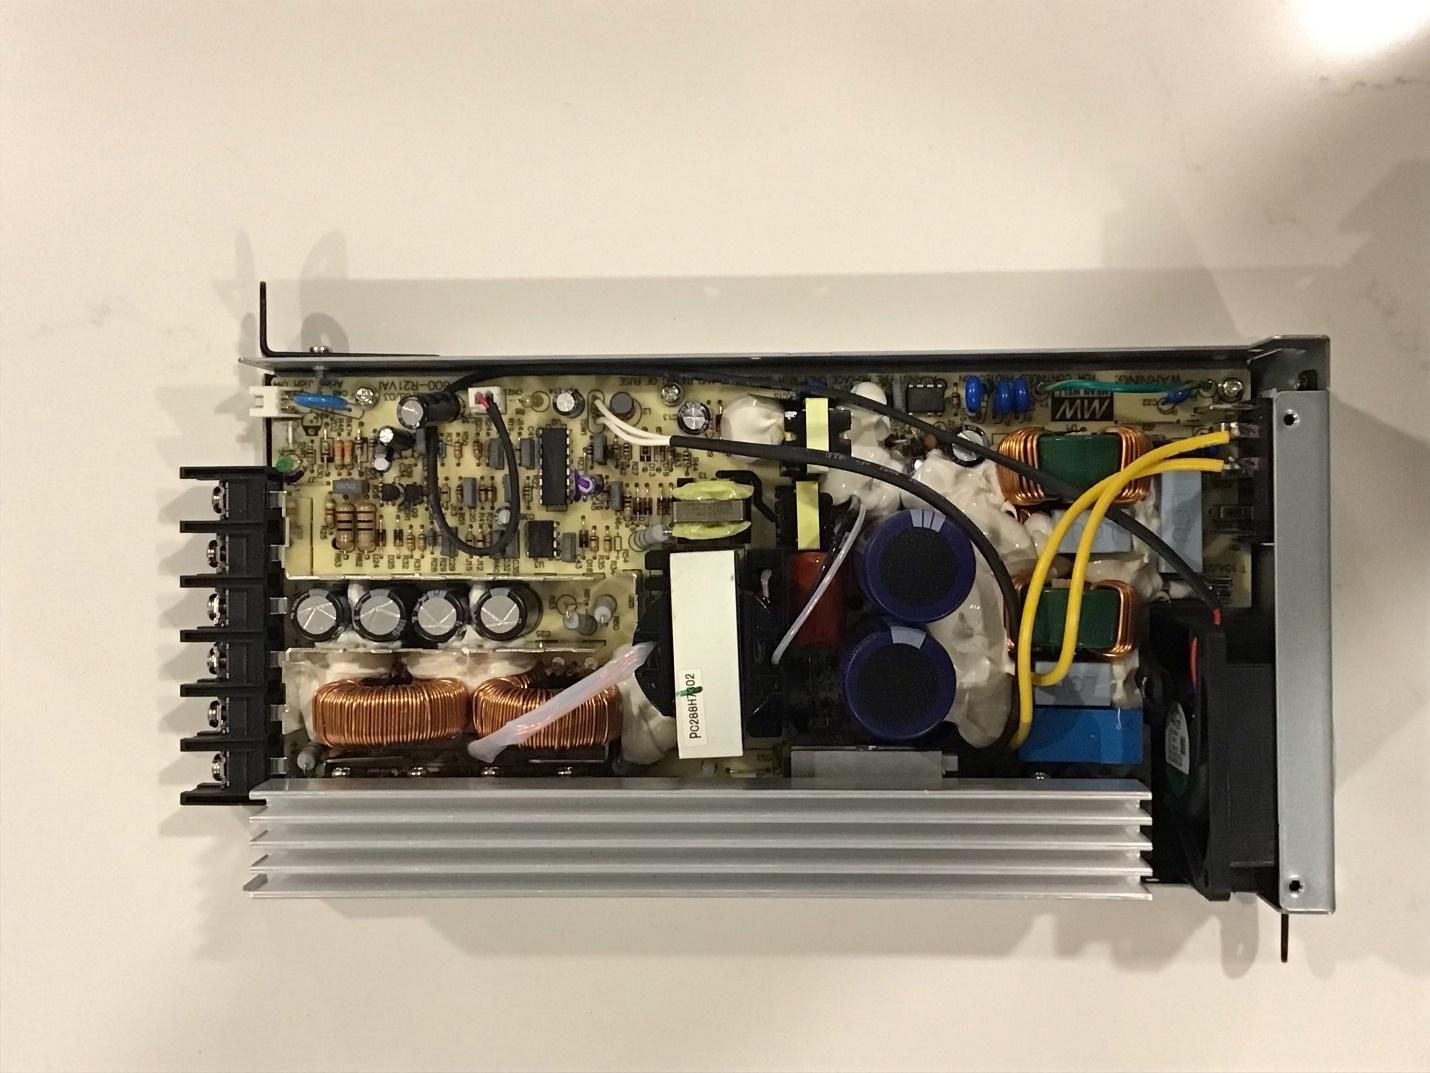
- Shift the board about 6 cm away from the fan.
- Unplug the fan wire.
- Remove the original fan by rotating it vertically toward the middle of the board.
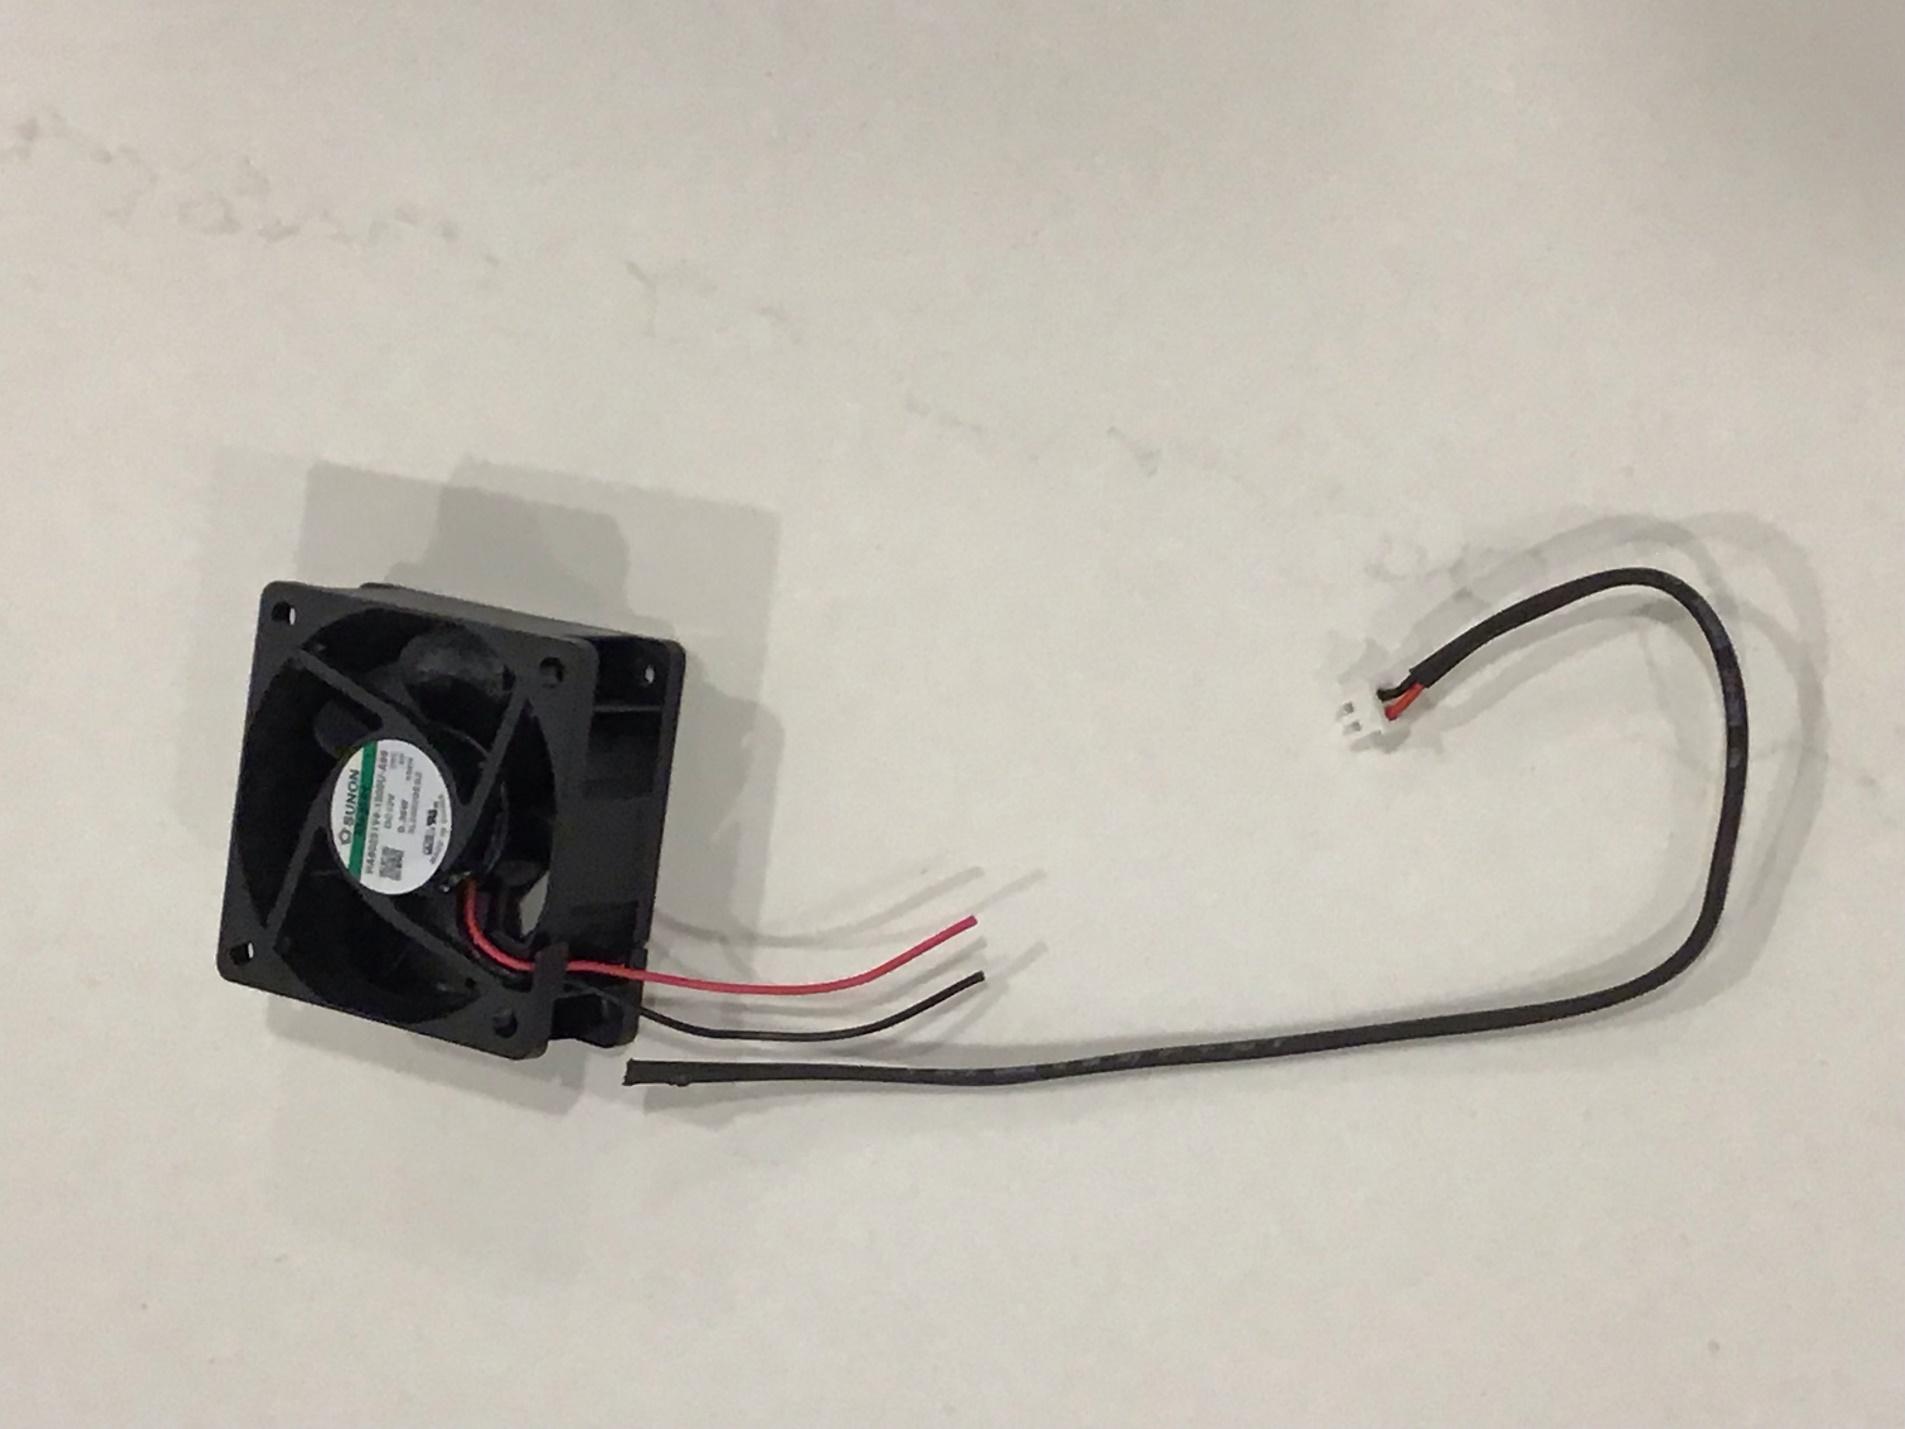
- You can try to buy the 2-pin connector and make a new wire. Make sure to wrap the wires in heat-shrink tubing if you do. I was not planning to keep the original fan, so I chose to cut the wire near the fan and reuse it. It is unrealistic to attempt to solder the wires to the fan motor terminals, so I spliced the two wires instead. I made sure to use heat-shrink tubing on each wire and another heat-shrink tubing around that.
This is the picture before I spliced the wires together. The original wires are also red and black, making it easy to just splice identical colors together.
- With the new wire now connected to the new fan, insert the fan into position. Make sure the lettered label is facing the inside of the case. This is very important to achieve the correct airflow direction. Make sure the wires exit the fan frame from the top corner closest to the fan connector on the board.
- Shift the power supply board back in position. Reinstall the 5 screws holding the board.
- Guide the fan wire on the side of the board and around the capacitor.
- Plug the fan wire into the board.
- Fasten the fan to the case with the 2 screws. Make sure it is tight but do not over-tighten. You might have to shift the fan a little to align the fan frame with the holes.
- Put back the case cover. Reinstall the 2 screws on top, 3 screws on each side, 1 screw per leg and tighten the bottom screw on the legs.
- Put the power supply back in the cabinet. Reconnect the back wires: 2 red wires on V- and 2 white wires on V+. Refer to the picture above.
- Reinstall the plastic cover protecting the back wires.
- Reconnect the front wires: black on L, white on N and green on ground. Refer to the picture above.
- Reinstall the plastic cover protecting the front wires.
- Fasten the power supply legs to the cabinet.
- Plug the machine into a power outlet and turn on the machine.
- Make sure the fan is turning and it is blowing air outwards. This might not be obvious because the fan is extremely quiet. Warning! High voltage is present in this area. It is better to use a thin strip of paper to test the airflow than your finger.
- Turn off the machine. Install a module, making sure it is plugged in at the back. Lower the playfield to the normal position. Reinstall the glass and the lockbar.
- Enjoy your quiet P3.